Installing the NAPS2 Scanning Component
The user can add attachments to documents by scanning, using the mDocsX and NAPS2 tools.
Instructions for installing the NAPS2 component with mDocsX
The first time the feature is used, the system will first prompt you to install the mDocsX component, which acts as a plugin for the NAPS2 tool and enables direct communication between mDocs+ and the scanner.
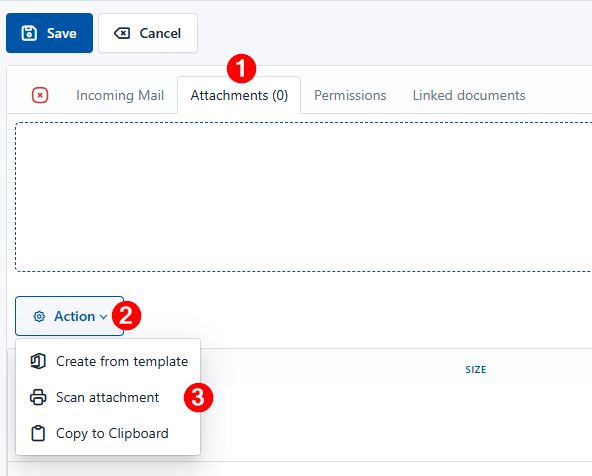
You can access the installation file, for both mDocsX and NAPS2, from mDocs+ by clicking on the document's attachments in editing mode → Operation → Scan attachment
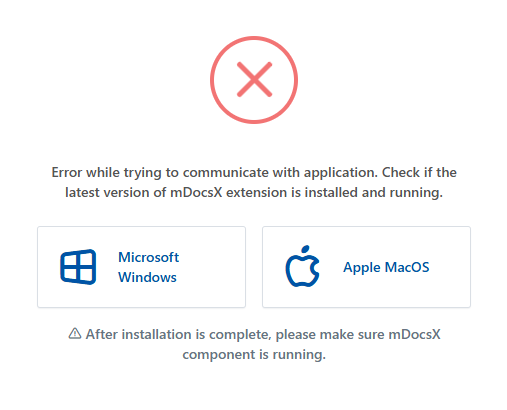
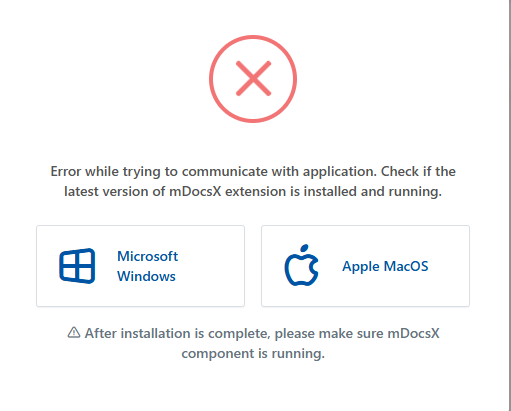
When the installation prompt appears, click Download (depending on your operating system) and save the installation file. Follow the tools' installation instructions.
NAPS2 installation instructions:
- Run the installation file with administrator rights (right-click → Run as administrator).
- Follow the installation wizard and complete the process
- If necessary, restart mDocs+ and/or the computer after installation
- Go to a document in editing mode
- Click the Operation button
- Select the Scan attachment option
- When scanning starts again, the NAPS2 scanning tool will open
Setting up a scan profile in NAPS2 (first use)
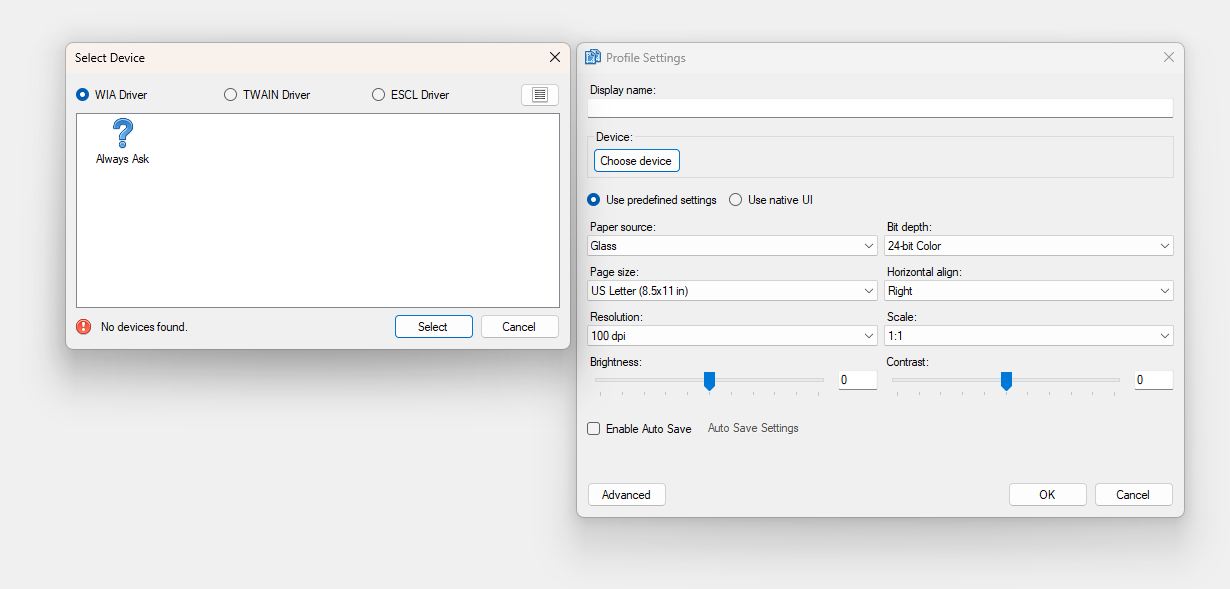
The first time it is used, you will need to create a scan profile in the NAPS2 tool
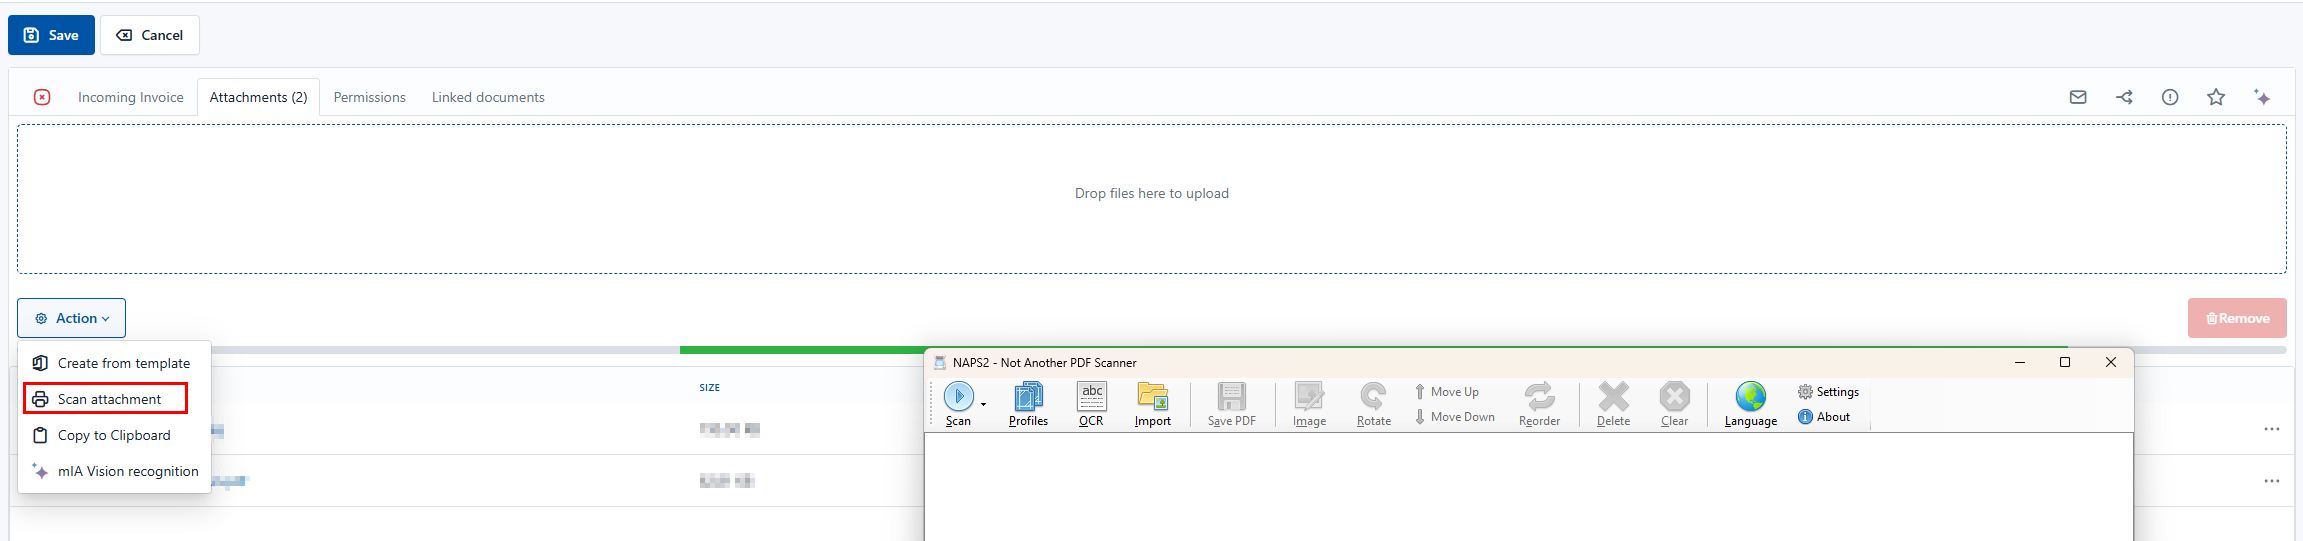
- Open NAPS2.
- Click Profiles → New.
- In the Display name field, enter a recognizable name (e.g. Office).
- In the Device section, select your desired connected scanner or multifunction device.
- In the Driver section, select TWAIN (recommended) or WIA if TWAIN is not available.
- Set the desired parameters (resolution, color mode, format - we recommend the default settings).
- Click OK to save the profile.
Tip: You can edit and adjust the profile later at any time based on the type of documents (e.g. black-and-white for contracts, color for graphic materials).