MS Office Templates
The administration module for managing templates in the document system enables users to manage templates for various document types centrally and efficiently. Users can quickly add, edit, or remove templates, which significantly speeds up the preparation of standardized documents and ensures consistency.
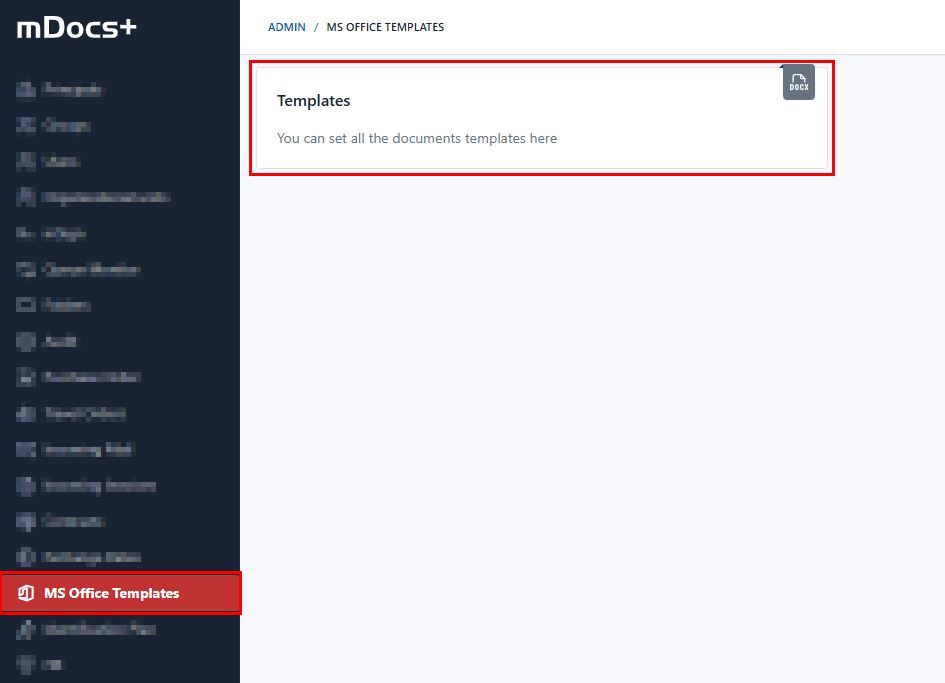
Adding new templates
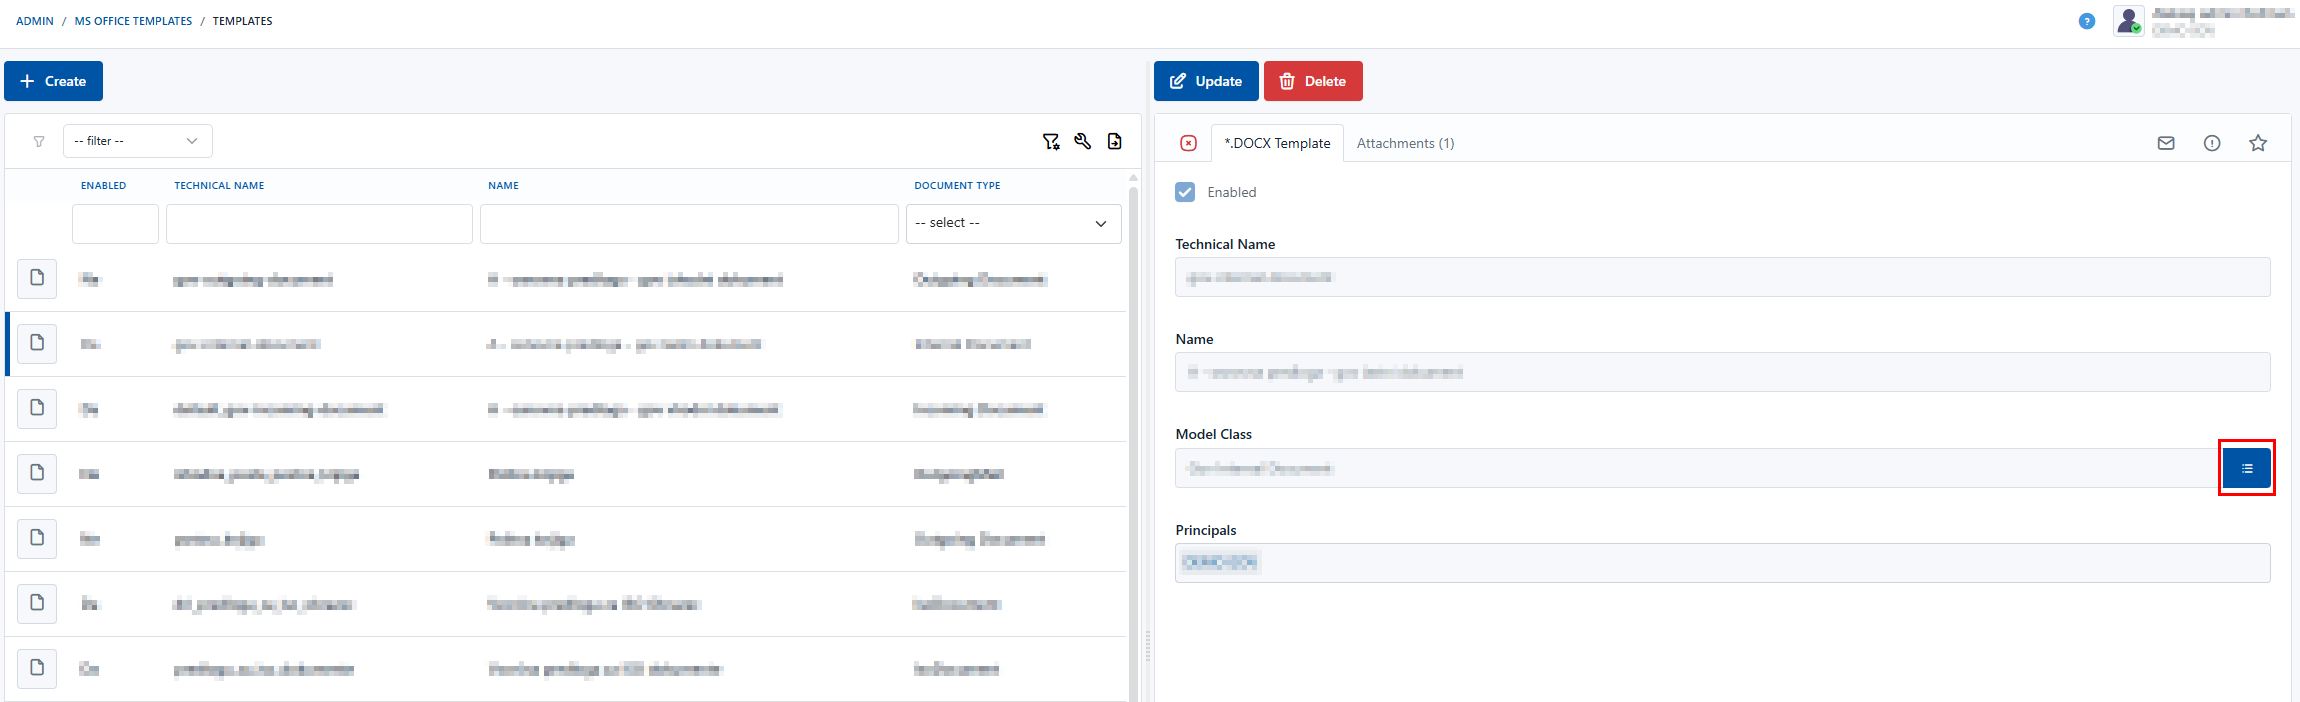
The module enables the creation of templates. Users can specify a name, select a document type, and upload a file that will serve as the template.
- Procedure:
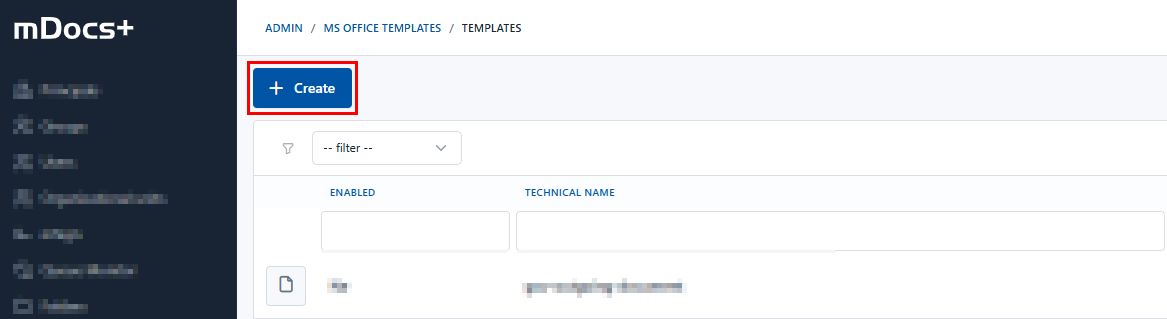
In the template management module, select the "Add" option.
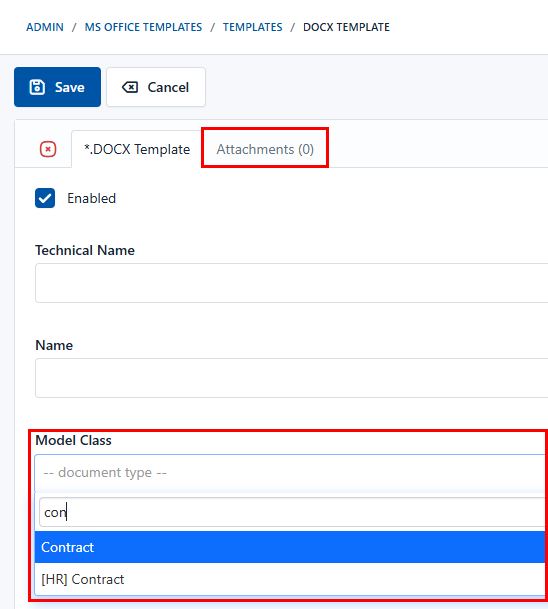
 In the document editing mode, on the "*.DOCX template" tab, enter the template name and select the appropriate document type (model), or the module in which you want to access the template.
 On the "Attachments" tab, upload the file that will be used as the template.
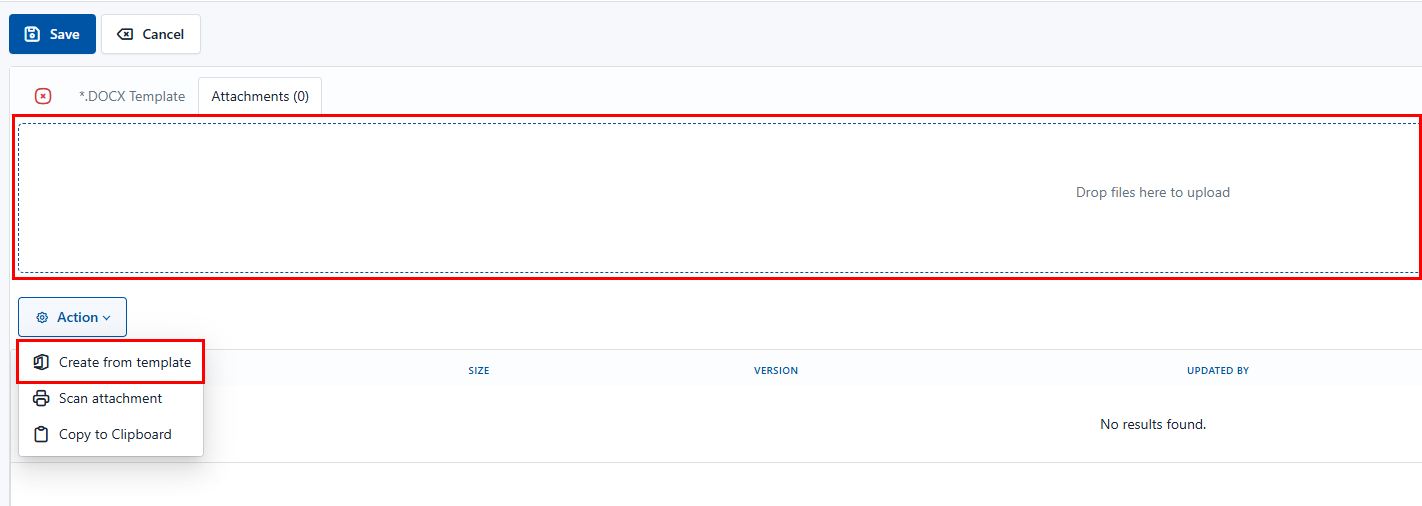
Confirm the addition, or creation, of the template by clicking the "Save" button.
Editing existing templates
The module enables updating data and replacing files for existing templates.
- Procedure:
- In the list of templates, select the desired template and click the "Edit" option.
- If needed, update the name, document type, or replace the attached file.
- Confirm the changes by clicking the "Save" button.
Deactivating or deleting templates
If a template has not yet been used, you can permanently delete it by selecting the template for deletion in the list of templates and choosing the "Delete" option, then confirming your choice. If the template has already been used in documents, you can deactivate it. In this case, select the "Deactivate" option on the chosen template in the list of templates, which prevents further use of the template while existing documents created from the template remain unchanged. Templates that have already been used to create documents cannot be deleted from the document system, since they are linked to existing documents based on those templates. Deleting such templates could cause a loss of traceability, complicate auditing, and prevent the correct display or regeneration of historical documents. Preserving used templates ensures the integrity of the archive.
List of technical variable names
The most commonly used technical variable names are collected in a special list, which you can find in the image below. This list gives you a quick overview of the available keys that you can use when preparing templates.
Inserting variables into a .docx document
When preparing documents such as contracts or reports, you can dynamically insert values from your metadata database directly into the document. You do this by using special variable placeholders, which the document automatically replaces with the actual values.
Example:
| Variable | Value |
|---|---|
${created_at[Y-M-D]} | 2026-01-01 |
${subject} | Example Subject |
${date} | 2026-01-01 |
${sum}${currency} | 100 EUR |
${principal.name} | Example Principal Name |
${createdBy.created_at[Y]} | 2026 |
${createdBy.username} | Example Username |
To insert variable values into a document, use technical variable name placeholders in the form ${variable_name}. For example, the entry ${subject} will be automatically replaced in the document with the value linked in your metadata to the Subject field.
If a variable contains a reference to another entity, you can access specific attributes of that entity using dot syntax, for example ${createdBy.username}. In this case, the placeholder will insert into the document (attachment) the username of the person who created the document.
For variables that contain dates, you can specify a date format by adding [d-M-Y] immediately after the variable name. For example, ${created_at[d-M-Y]} will format the date in d-m-l form. If you do not specify a special format for a date variable when preparing the template, the date value will be displayed in the document as it is recorded in the metadata (the default date format).
If you want the document version to be displayed with a decimal point (e.g., "1.0" instead of just "1"), use the placeholder with the string suffix: ${version[string:]}.
Formatting date output
By using a specific sequence of characters and separators, you can customize the date output format:
- [d.M.Y]: date displayed in the form 12.2.2026
- [d-M-Y]: date displayed in the form 12-2-2026
- [d/M/Y]: date displayed in the form 12/2/2026
Legend of symbols:
- d = day of the month (e.g., 12)
- D = day of the year
- M = month (e.g., 2)
- Y = year (e.g., 2026)
- m = minute (if used when displaying time)