Classification
Classification allows for the structured organization of documents using a classification plan. Administrators can add, edit, or delete the classification plan.
Classification Plan
Allows documents to be sorted according to specific criteria (code, name, organization, retention period, etc.).
- Adding: Enter a new classification code by clicking "Add", filling in the data, and confirming with "Save".
- Editing: Changing existing data with the option to save changes.
Set the following parameters on the classification code:
- Code: enter the classification code designation
- Name: enter the name of the classification code
- Parent classification code: select the parent classification code
- Valid from: option to set the date from which the code is allowed to be used
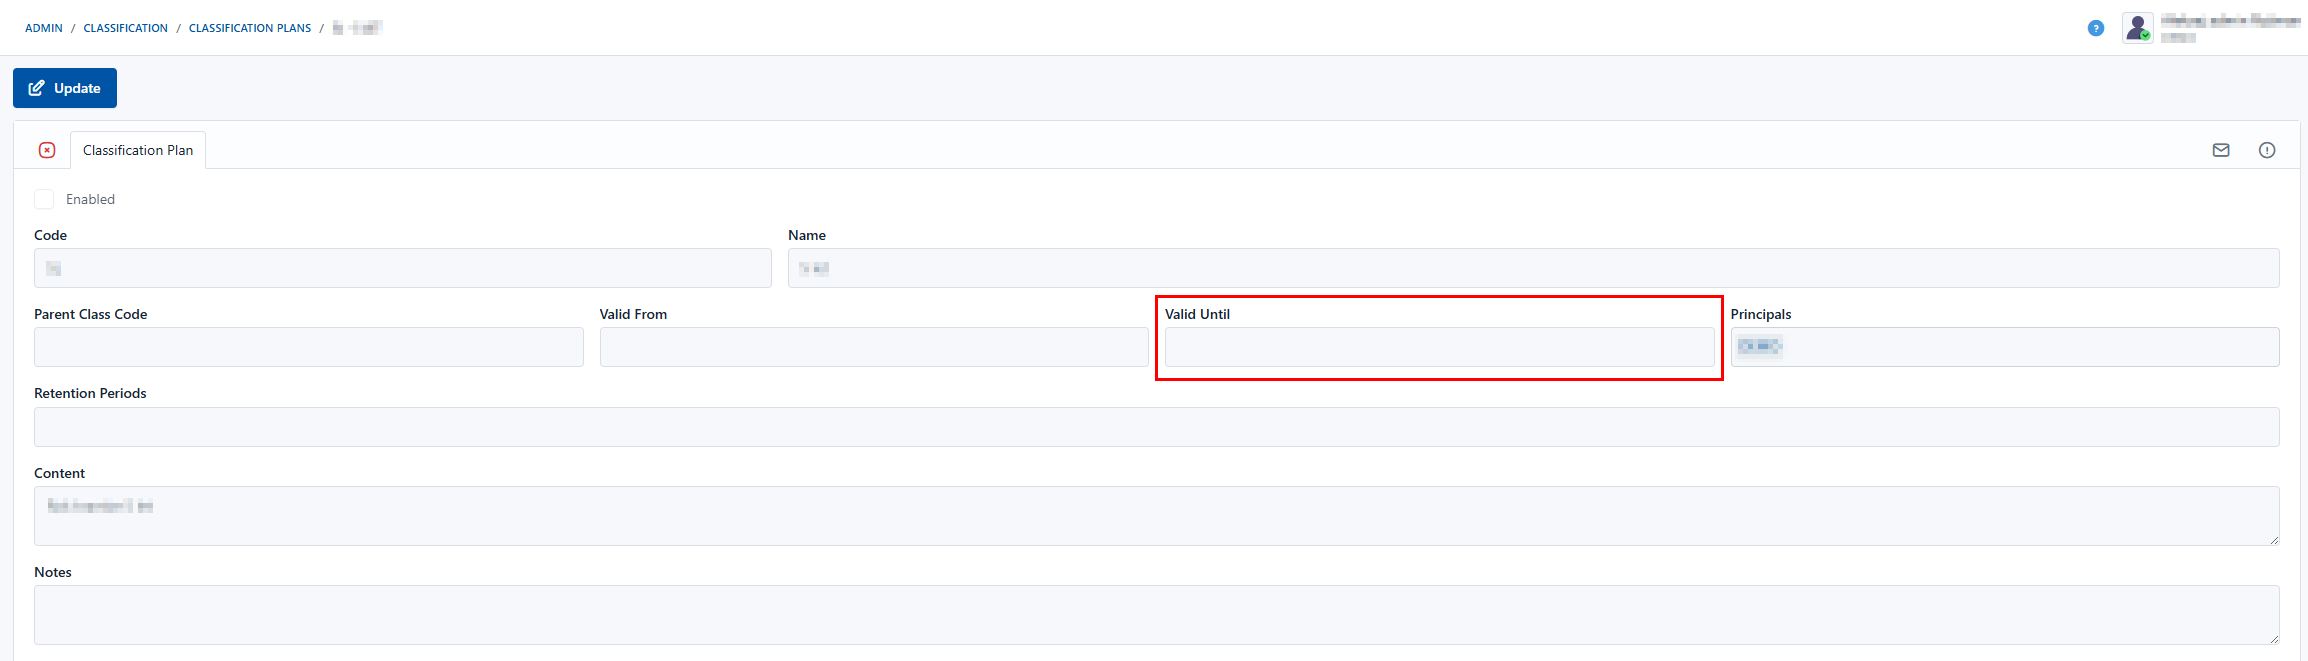
- Valid to: option to set the date after which the code is no longer allowed to be used
- Organizations: this setting applies to a multi-organization environment. In this field, select the organizations for which the classification code can be used. The choice of this code on documents will be limited to the selected organizations. If the field is empty, the code applies to all organizations.
- Retention period: setting the retention periods that apply to the code.
- Content: description of the code's content
- Notes: additional notes
Users can sort and filter the classification plan by columns for faster searching.
To successfully add classification codes, the appropriate retention periods must first be added to the retention period registry.
Retention Policies
The module allows editing the registry of document retention policies in e-archiving. The retention policy determines what happens to documents after the retention period expires.
The possible values are:
- Value 1: Permanent Documents are kept indefinitely, even after the retention period expires. Suitable for archivally important material or documents of permanent value.
- Value 2: Selection or disposal After the retention period expires, documents enter a review phase, where a decision is made on their further retention (selection) or removal (disposal). Allows for controlled decision-making before final removal.
- Value 3: Automatic destruction Documents are automatically deleted from the system after the retention period expires. Suitable for documents without long-term value or when legislation requires their destruction.
- Value 4: Automatic export and destruction After the retention period expires, documents are first automatically exported (e.g. for archiving outside the system), then removed from the system. Allows records to be preserved without additional burden on the system.
Security Levels
The module allows setting a security level for each classification or document record, ensuring appropriate protection of information according to its sensitivity and accessibility. The following security levels are available by default:
- Internal: The document is intended for internal use within the organization only. All employees have access to it, unless otherwise specified.
- Restricted access: Only certain persons or groups within the organization have access to the document. It is used for information that is not publicly accessible and requires a certain level of authorization.
- Strictly restricted access: The document contains highly sensitive data. Access is strictly limited to predetermined persons with appropriate security clearance or function.
- Secret: The document is extremely sensitive and protected in accordance with the highest security standards. Access is strongly limited, generally to a narrow circle of authorized persons. It is used for strategic, security, or confidential content.
Warning: Documents with higher security levels require additional security measures beyond the scope of the document system. The organization must, based on its own risk assessment, determine and implement appropriate measures for the secure handling and protection of such documents.
Configuring Security Levels in the System
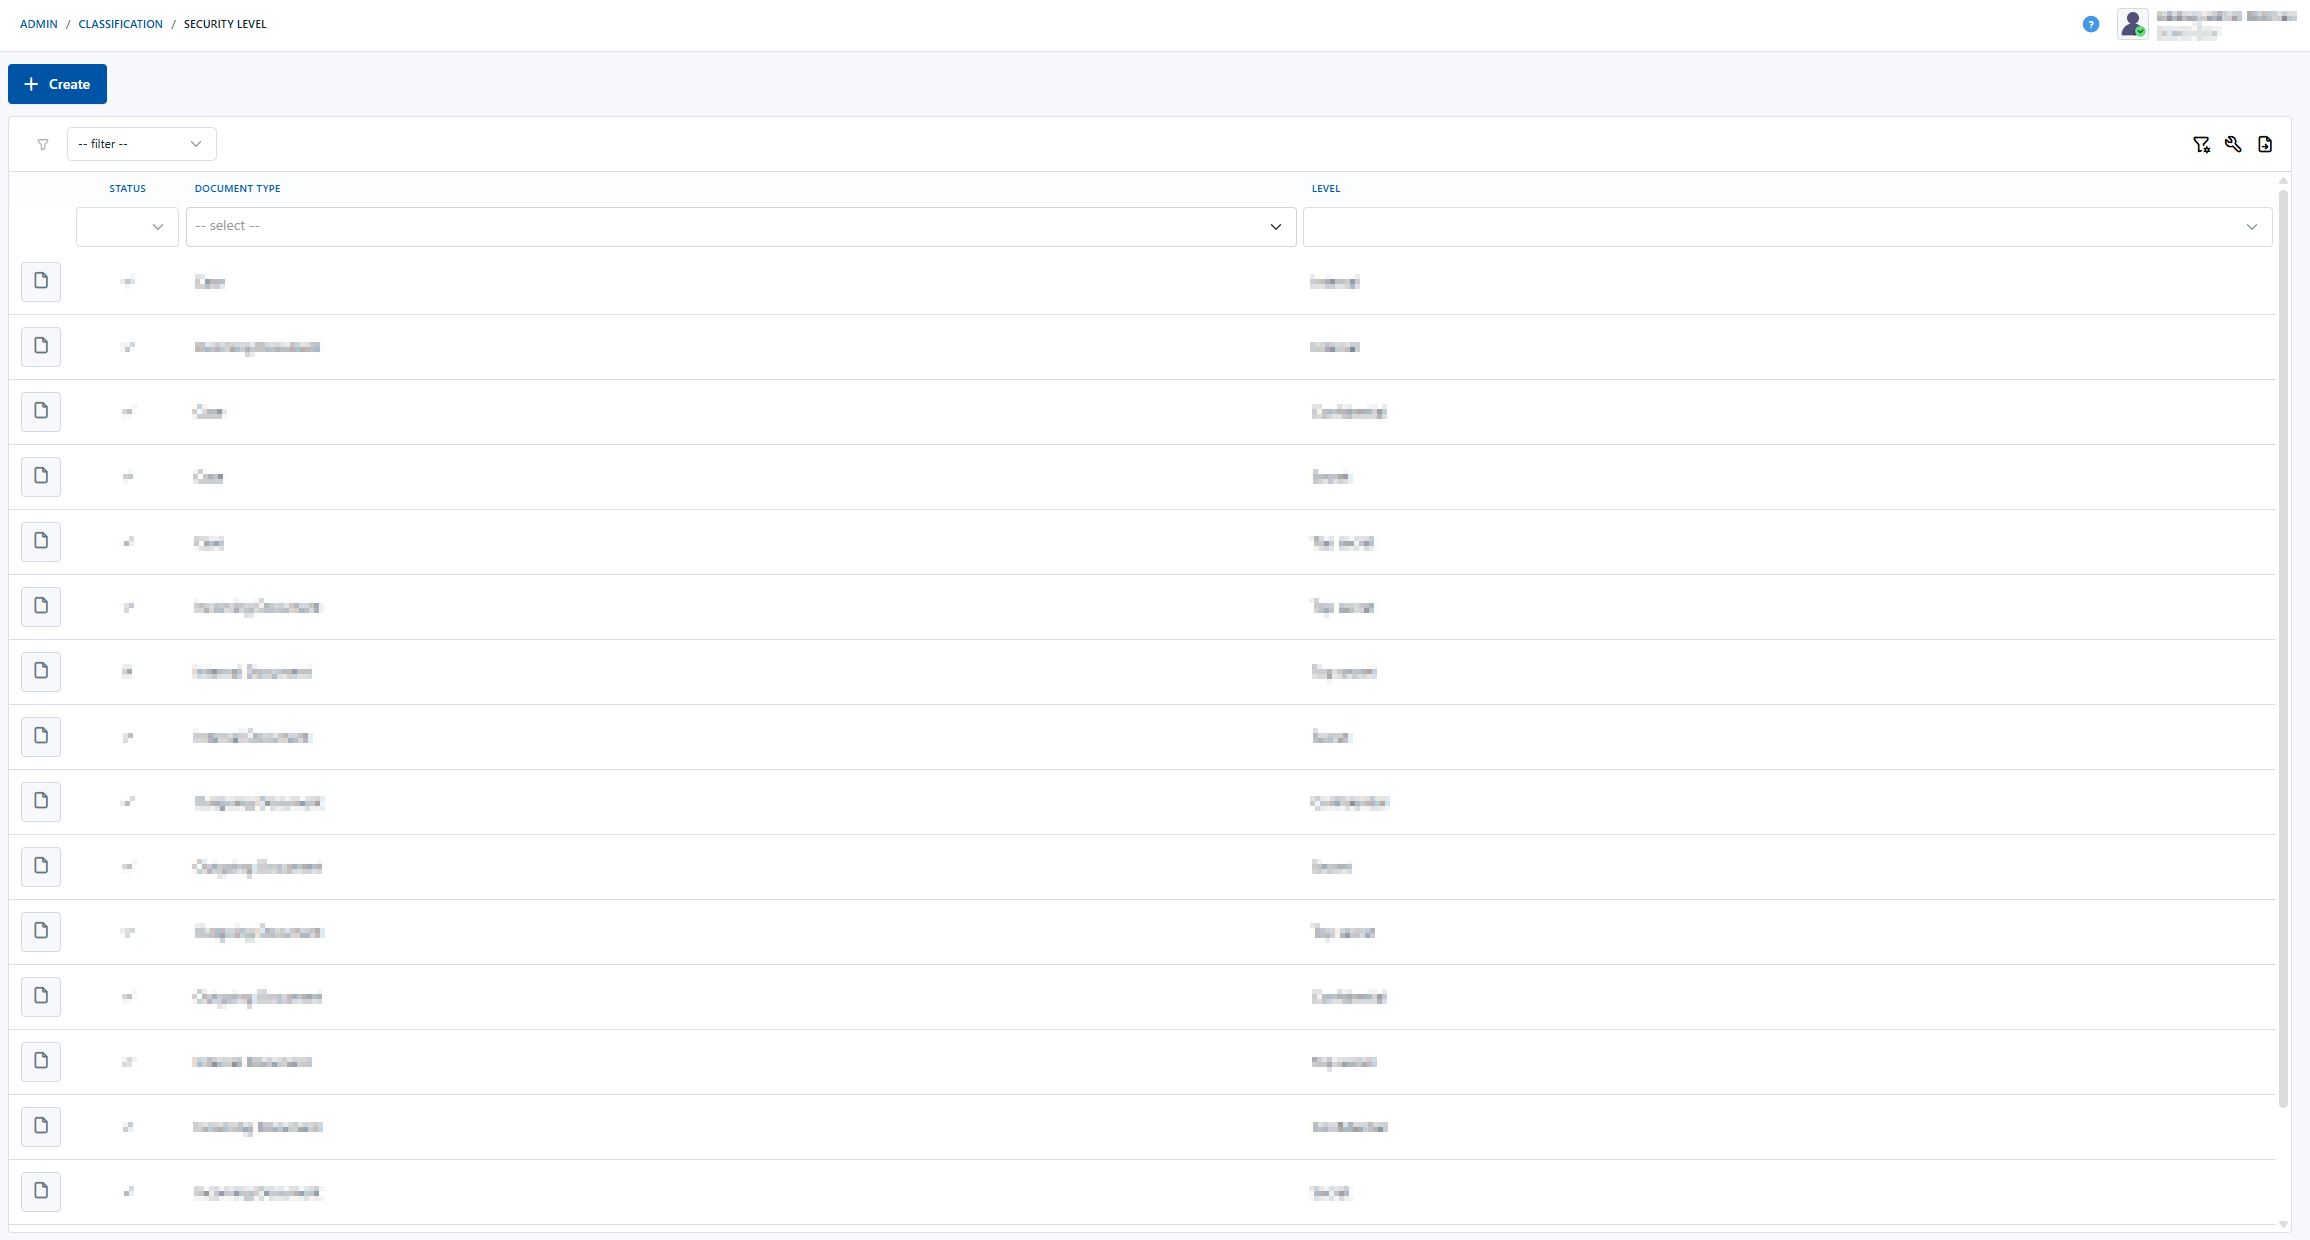
Log in to the environment as an administrator (https://environment/admin), open Classification(1) in the left-hand list, where "Security Levels"(2) is located. Clicking "Security Levels"(2) opens a list of predefined levels(3).


Setting the Security Level
Clicking the "Add" button (4) opens a Security Level in edit mode (5), where the following fields are displayed: Enabled, Level, Model Class, Description, Attributes to Hide, Tabs to Hide, and Entities with Access.

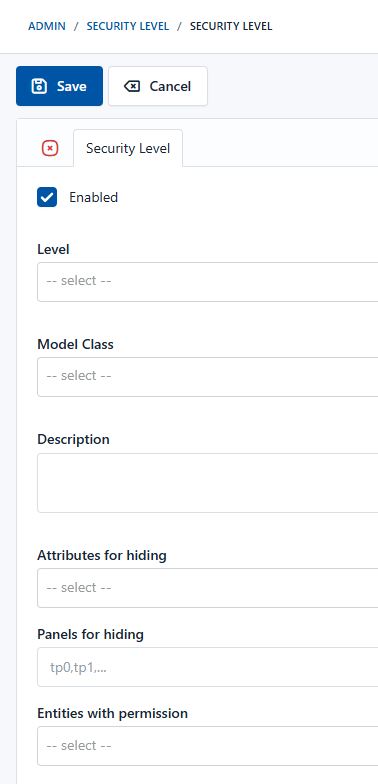
Enabled(6): Clicking colors the field, thereby enabling the operation of the security level. When a level is not enabled, the following happens:
- On the list of levels, this level is marked with an "X"(7).
- In the dropdown list for selecting a level for a document (e.g. Incoming document), this level is not listed(8).
- A document that had a security level set, which was subsequently disabled, will still retain that level and its restrictions until someone with appropriate permissions changes it.


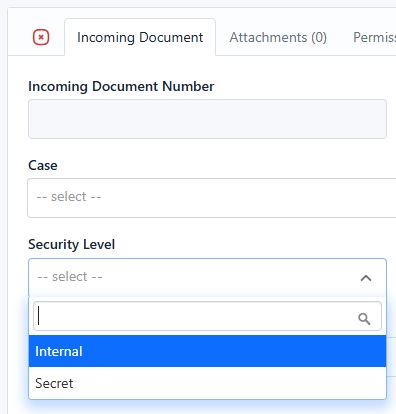
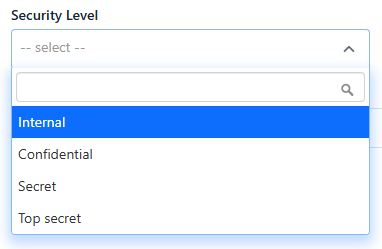
Level(9) (required field): Select the security level from the dropdown(10) menu. The levels are: internal, confidential, secret, and strictly secret. Each level can be configured as desired. It is advisable to configure them sensibly, as they have an underlying hierarchy. If you want to set a higher security level for a document than the security level of the associated case, you will receive a warning(11) that this cannot be done.


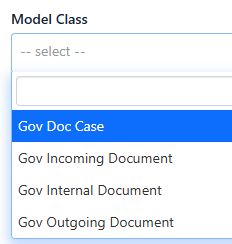
Model Class(12) (required field): This is a dropdown(13) menu where you select the model or module, such as case, incoming document, own document, or outgoing document.

Description(14): Intended to explain what this security level covers and who it allows access to.

Attributes to Hide(15): A field in which you determine which attributes you want to hide. Attributes are individual fields in documents. They are specified by clicking on the field, which opens a dropdown menu(16), where you can select exactly the ones you want, or press "Select all"(16) to hide all attributes. Attributes may differ depending on the model class.


Tabs to Hide(17):
- Here you can limit the visibility of entire tabs in a document(18), such as the attachments tab, the main tab, or the permissions tab.
- They are defined by manually entering them in the field(19).
- The tab name is obtained by reading it from the URL when you are on that exact tab in the document. When you click on a specific tab, the URL changes and will always end with ptab=****#(20).
- The value between ptab= and # is the value you need to enter in the field(19) to hide the tab. Values in the field are separated by commas.

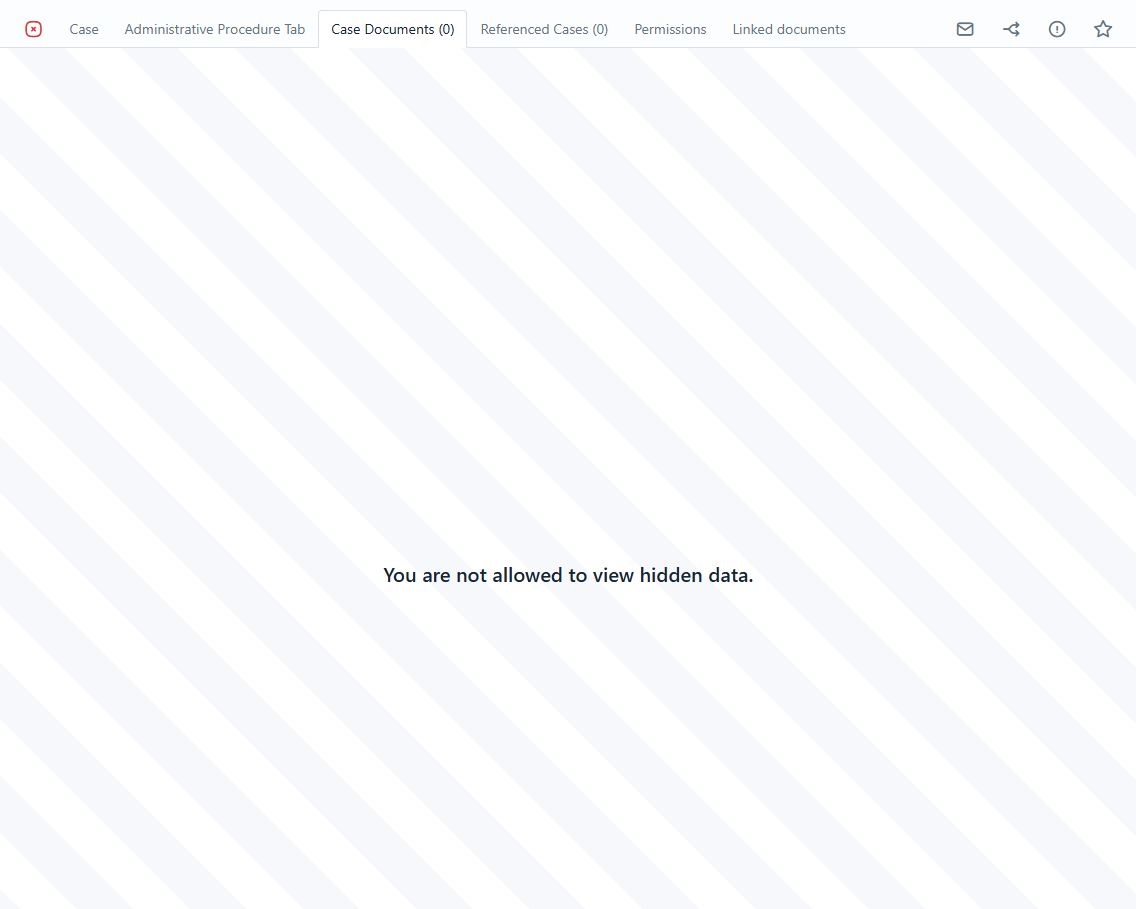


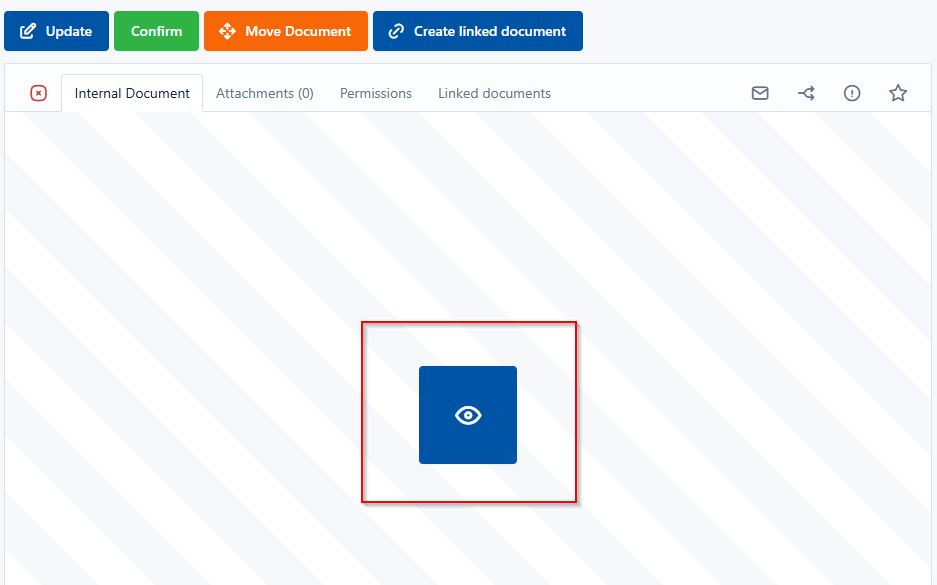
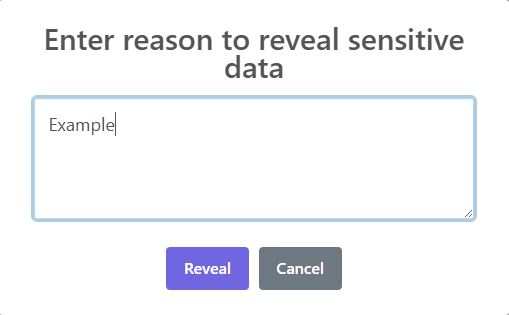
Entities with Access(22): These can be units, groups, or users who can view hidden attributes or tabs. Clicking on the field opens a dropdown menu where you can search for and select an entity. These entities see the document despite the restrictions imposed by the security level. For hidden tabs, they must use the button(23), which is available only to entities with access; this opens a popup window(24), where they must state the reason for viewing and then confirm.
Warning: attributes set to be hidden will be automatically excluded from document lists (even if they are included or set). Searching by attributes configured to be hidden will also be disabled.

Editing a Classification Code
When you want to edit a classification code, you can set an end-of-validity date ("Valid to") for it to a specific date (e.g. today). The code is then automatically deactivated after the defined date. The user can then create a new code with the same designation (with the desired changes to the name, description, and content).
Warning: the start-of-validity date ("Valid from") here must be set after the end-of-validity date ("Valid from") of the previous code. The dates must not overlap.
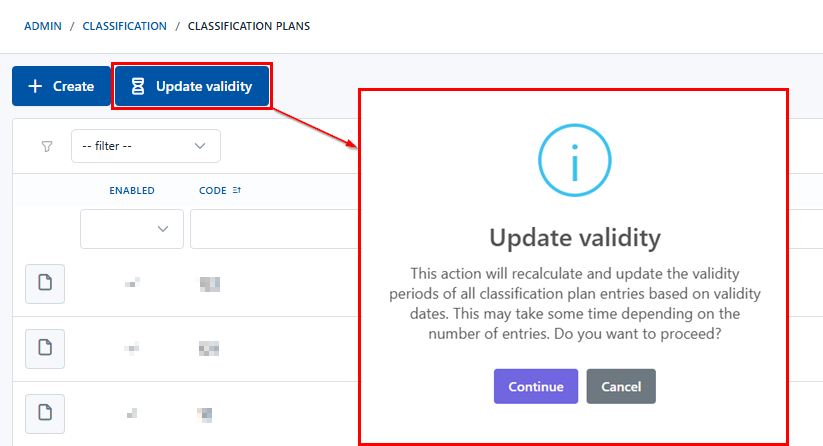
Existing documents still retain the old classification code, while new ones use the new code. Classification codes are not activated automatically if their "Valid to" date is set in the future. For such cases, the "Update validity" button is available.